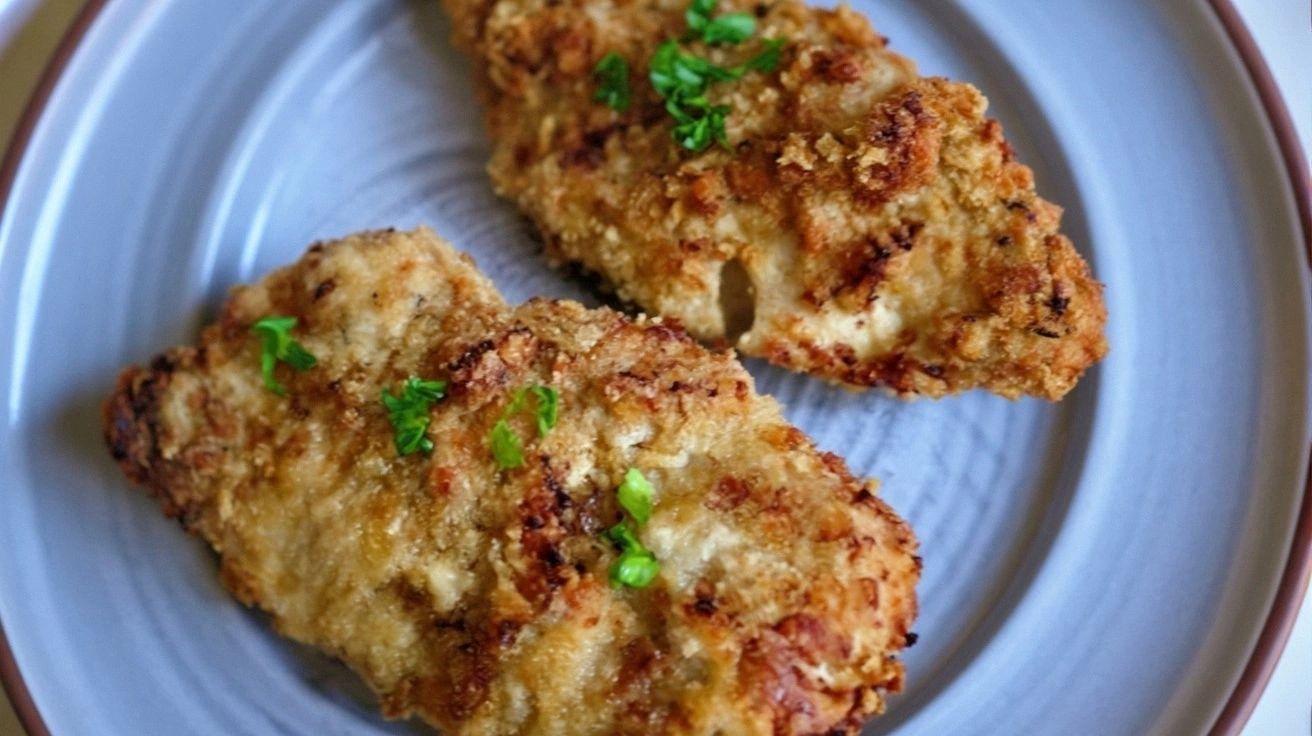
Picture this: I’m standing in a cramped kitchen, a stack of forgotten take‑out containers on the counter, and the clock ticking toward dinner time. I’ve stared at that half‑eaten chicken salad on my fridge for the past hour, feeling the inevitable dread that “I should have made something better.” Then, out of nowhere, a friend texted me a link to a recipe that promised to turn a simple chicken breast into a crispy, flavorful masterpiece using nothing more than an air fryer. I was skeptical, but the moment the image popped up—golden, crunchy coating, a glossy sheen that made my taste buds do a double take—I knew I had to try it.
The first time I dove into the instructions, I could almost hear the sizzling whisper of the air fryer’s fan as it whirred to life. The air smelled like toasted bread and a hint of garlic, while the sound of the coating crackling against the basket felt like applause. The texture was a revelation: a buttery, tender interior wrapped in a crisp shell that shattered with each bite, releasing a burst of savory flavors that danced across the palate. I didn’t just taste the chicken—I tasted confidence, a little triumph, and a promise that I could make something this good at home.
What makes this version of the classic breaded chicken so remarkable is not just the ingredients, but the technique that elevates it to a new level of deliciousness. It’s a recipe that takes the humble chicken breast, which often turns out dry or rubbery, and turns it into a juicy, melt‑in‑your‑mouth center with a coating that’s crisp enough to satisfy even the most discerning foodie. The air fryer does the heavy lifting, giving the crust a uniform crunch without the need for deep frying, yet it retains a depth of flavor that would make a gourmet chef nod in approval.
I dare you to taste this and not go back for seconds—once you experience the contrast between the velvety interior and the crunchy exterior, you’ll find yourself reaching for more. Picture yourself pulling this out of the air fryer, the whole kitchen smelling incredible, and seeing the golden crust glinting like a treasure chest. This is hands down the best version you’ll ever make at home, and I’m about to walk you through every single step so that by the end, you’ll wonder how you ever made it any other way.
What Makes This Version Stand Out
- Flavor: The blend of mayo, mustard, and a trio of spices creates a sauce that coats the chicken like velvet, infusing every bite with savory depth.
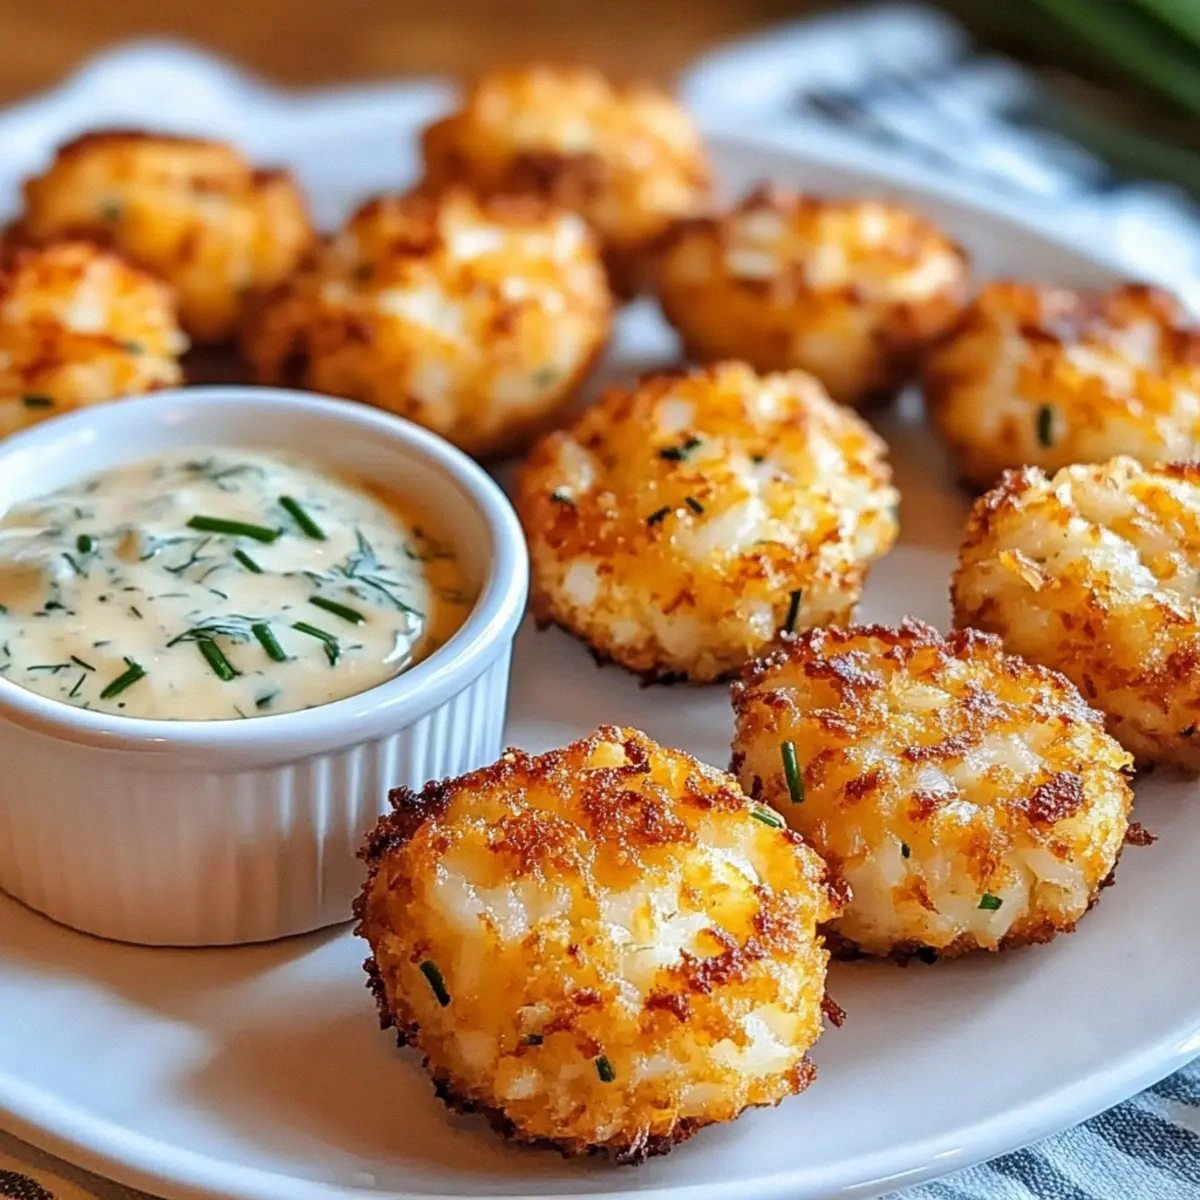
- Crispness: The panko and Parmesan mix gives a light, airy crunch that shatters like thin ice when you bite into it.
- Ease: No soaking, no marinating, no complex prep—just a few minutes of coating and a quick run in the air fryer.
- Health: Using an air fryer slashes the fat content by up to 70% compared to traditional frying, while still delivering that satisfying crunch.
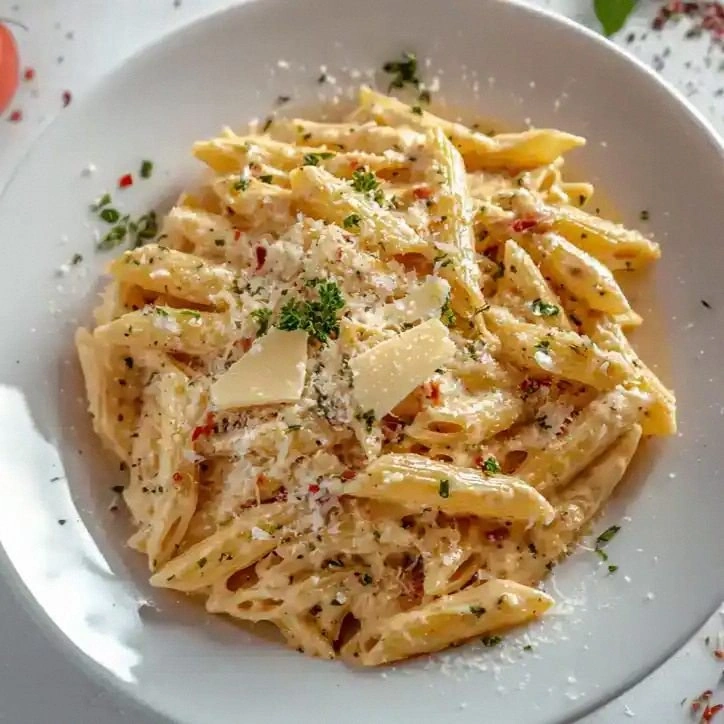
- Versatility: Serve it over pasta, in a sandwich, or as a party appetizer—this recipe adapts to any occasion.
- Crowd‑pleaser: Even the pickiest eaters will love the juicy interior and the irresistible crunch.
- Ingredient Quality: Fresh, high‑quality chicken and premium panko give the dish a professional finish that’s hard to replicate.
- Make‑ahead Potential: You can prepare the coating in advance, refrigerate it, and cook in minutes when you’re ready.
Inside the Ingredient List
The Flavor Base
The mayo and mustard duo isn’t just a binder; it’s the heart of the flavor profile. Mayonnaise adds a creamy, slightly tangy backdrop, while Dijon mustard injects a subtle heat and sharpness that cuts through the richness of the chicken. If you’re allergic to mayo, a light Greek yogurt can be an excellent substitute—just keep it plain to avoid overpowering the other spices.
The garlic and onion powders, each half a teaspoon, bring a subtle aromatic foundation that lingers on the palate. These powders are dry, so they distribute evenly across the surface, ensuring that every bite has that comforting, all‑American seasoning. Skipping them will leave the coating bland, so don’t be tempted to cut corners.
Paprika, a half teaspoon, adds a mild sweetness and a rosy hue to the crust. If you prefer a smokier kick, swap the paprika for smoked paprika or even chipotle powder. The key is to balance the heat so it doesn’t overwhelm the delicate chicken.
Salt and pepper are the classic seasoning pair. While salt is essential for enhancing all the other flavors, freshly ground black pepper adds a peppery bite that cuts through the richness. If you’re watching sodium, use a pinch of sea salt and keep the pepper to taste.
The Texture Crew
Panko breadcrumbs are the star of the show when it comes to achieving that coveted crunch. Their airy, flaky structure creates a light shell that’s crisp on the outside and tender on the inside. If you can’t find panko, you can use regular breadcrumbs, but the texture will be denser and less airy.
Grated Parmesan cheese adds a savory, umami punch that melts slightly into the coating, creating a golden crust with a subtle nutty undertone. The cheese also helps bind the coating together, preventing it from falling off during cooking. A small pinch of freshly grated cheese goes a long way, so use it sparingly to avoid overpowering the chicken.
The chicken breasts themselves are the canvas. Opt for fresh, boneless, skinless breasts that are at least 1 inch thick to ensure even cooking. If you’re using frozen breasts, thaw them completely and pat them dry; moisture will prevent the coating from adhering properly.
The Unexpected Star
The combination of mayo and mustard might seem ordinary, but the ratio used here (1/2 cup mayo to 2 tbsp mustard) creates a silky, tangy coating that’s unlike any other. This blend also serves as a moisture lock, keeping the chicken juicy even after the air fryer’s high heat has done its work.
Some chefs add a splash of lemon juice to brighten the flavors; if you’re adventurous, try a teaspoon of fresh lemon zest. It’ll add a bright, citrusy note that contrasts nicely with the buttery coating.
The Final Flourish
The finishing touch is the simple act of letting the coated chicken rest for five minutes before serving. This brief pause allows the coating to set, ensuring that the crisp edges don’t crumble as soon as you bite. Think of it as a short “cool‑down” period that locks in texture.
Everything’s prepped? Good. Let’s get into the real action.
The Method — Step by Step
- Start by patting the chicken breasts dry with paper towels. Removing excess moisture is key; if the surface is wet, the coating won’t stick properly, and you’ll end up with a soggy crust.
- In a medium bowl, whisk together the mayonnaise, Dijon mustard, garlic powder, onion powder, paprika, salt, and black pepper until a smooth sauce forms. The sauce should be thick enough to coat the chicken without dripping.
- Spread the sauce evenly over each chicken breast, making sure to cover every nook and cranny. This step is crucial; the coating relies on a generous layer of sauce to bind the breadcrumbs and cheese.
- In a shallow dish, combine the panko breadcrumbs and grated Parmesan. Mix gently so that the cheese is evenly distributed—this will give the crust a golden, flavorful finish.
- Press the coated chicken into the breadcrumb mixture, turning to ensure a uniform crust. If you want a thicker coating, double‑dip: first into the sauce again, then the breadcrumb mixture.
- Preheat your air fryer to 400°F (200°C) for 3 minutes. A hot basket ensures the coating starts crisping immediately, preventing it from becoming soggy.
- Place the coated chicken breasts in a single layer in the air fryer basket. Avoid stacking; airflow is essential for even cooking.
- Cook for 12 minutes, then flip the chicken and cook for an additional 8 minutes. The total time should be around 20 minutes, but keep an eye on the crust—once it’s a deep golden brown and the internal temperature reads 165°F (74°C), you’re ready.
- Once cooked, let the chicken rest for five minutes on a wire rack. This short rest allows the juices to redistribute, ensuring every bite is juicy.
- Serve immediately with a squeeze of fresh lemon, a side of garlic aioli, or your favorite dipping sauce. The contrast between the crunchy exterior and the tender interior is pure bliss.
That’s it—you did it. But hold on, I’ve got a few more tricks that will take this to another level. Stay tuned for insider tips that will make every bite unforgettable.
Insider Tricks for Flawless Results
The Temperature Rule Nobody Follows
Many people set their air fryer at a lower temperature to avoid burning, but this recipe thrives at 400°F. The high heat is what gives the coating its signature crunch. If your air fryer is a bit smaller, you can lower the temperature to 375°F, but you’ll need to increase the cooking time by a couple of minutes.
Why Your Nose Knows Best
The aroma of the coating is a telltale sign that the process is on track. A pleasant, toasted scent means the breadcrumbs are browning evenly. If you notice a sharp, burnt smell, the temperature is too high or the coating is too thick.
The 5-Minute Rest That Changes Everything
This simple step might seem trivial, but it’s crucial. Resting allows the coating to set, preventing it from peeling off when you cut into the chicken. Think of it as the final polishing step before the grand unveiling.
Use Fresh Parmesan, Not Grated Pack
Freshly grated Parmesan has a brighter, more robust flavor than pre‑grated cheese, which often contains additives. The natural oils in fresh cheese also help the coating adhere better, giving you a richer, more satisfying bite.
Double-Dip for Extra Crunch
If you’re craving an ultra‑crunchy crust, double‑dip the chicken: first coat it in the mayo‑mustard mixture, then in the breadcrumb blend, then dip back into the sauce, and finally the breadcrumb mixture again. The result is a multi‑layered shell that’s impossible to resist.
Creative Twists and Variations
This recipe is a playground. Here are some of my favorite ways to switch things up:
Cajun Crunch
Swap the paprika for a Cajun seasoning blend and add a dash of cayenne pepper. The result is a smoky, spicy coating that pairs beautifully with a cool ranch dip.
Herb‑Infused Delight
Incorporate fresh chopped basil or oregano into the breadcrumb mixture. The herbs will add a fragrant, green note that elevates the dish to a Mediterranean vibe.
Cheesy Parmesan Crust
Increase the Parmesan to 3/4 cup and reduce the panko to 3/4 cup. The extra cheese creates a gooey, melty crust that’s a crowd‑pleaser at parties.
Gluten‑Free Version
Use a gluten‑free breadcrumb blend or crushed rice crackers in place of panko. The texture will be slightly different, but the flavor profile remains intact.
Asian‑Inspired Glaze
After air frying, brush the chicken with a mixture of soy sauce, honey, and sesame oil. The glaze will give a sweet, umami finish that’s reminiscent of Korean barbecue.
Breakfast Take‑Away
Serve the chicken over scrambled eggs with a side of hash browns. The crunchy coating pairs wonderfully with the creamy eggs, creating a hearty breakfast or brunch option.
Storing and Bringing It Back to Life
Fridge Storage
Store leftover chicken in an airtight container in the refrigerator for up to 3 days. The crust may soften slightly, so it’s best enjoyed fresh.
Freezer Friendly
For longer storage, place the cooked chicken on a parchment‑lined tray, freeze until solid, then transfer to a freezer bag. The chicken can be kept for up to 3 months. Reheat in an oven at 375°F (190°C) for 10 minutes to restore crispness.
Best Reheating Method
To revive the crunch, reheat the chicken in a preheated air fryer at 350°F (175°C) for 3–5 minutes. If you’re using a conventional oven, place the chicken on a wire rack over a baking sheet and bake at 400°F (200°C) for 8 minutes. Add a splash of water to the bottom of the pan to create steam, which helps keep the interior moist.