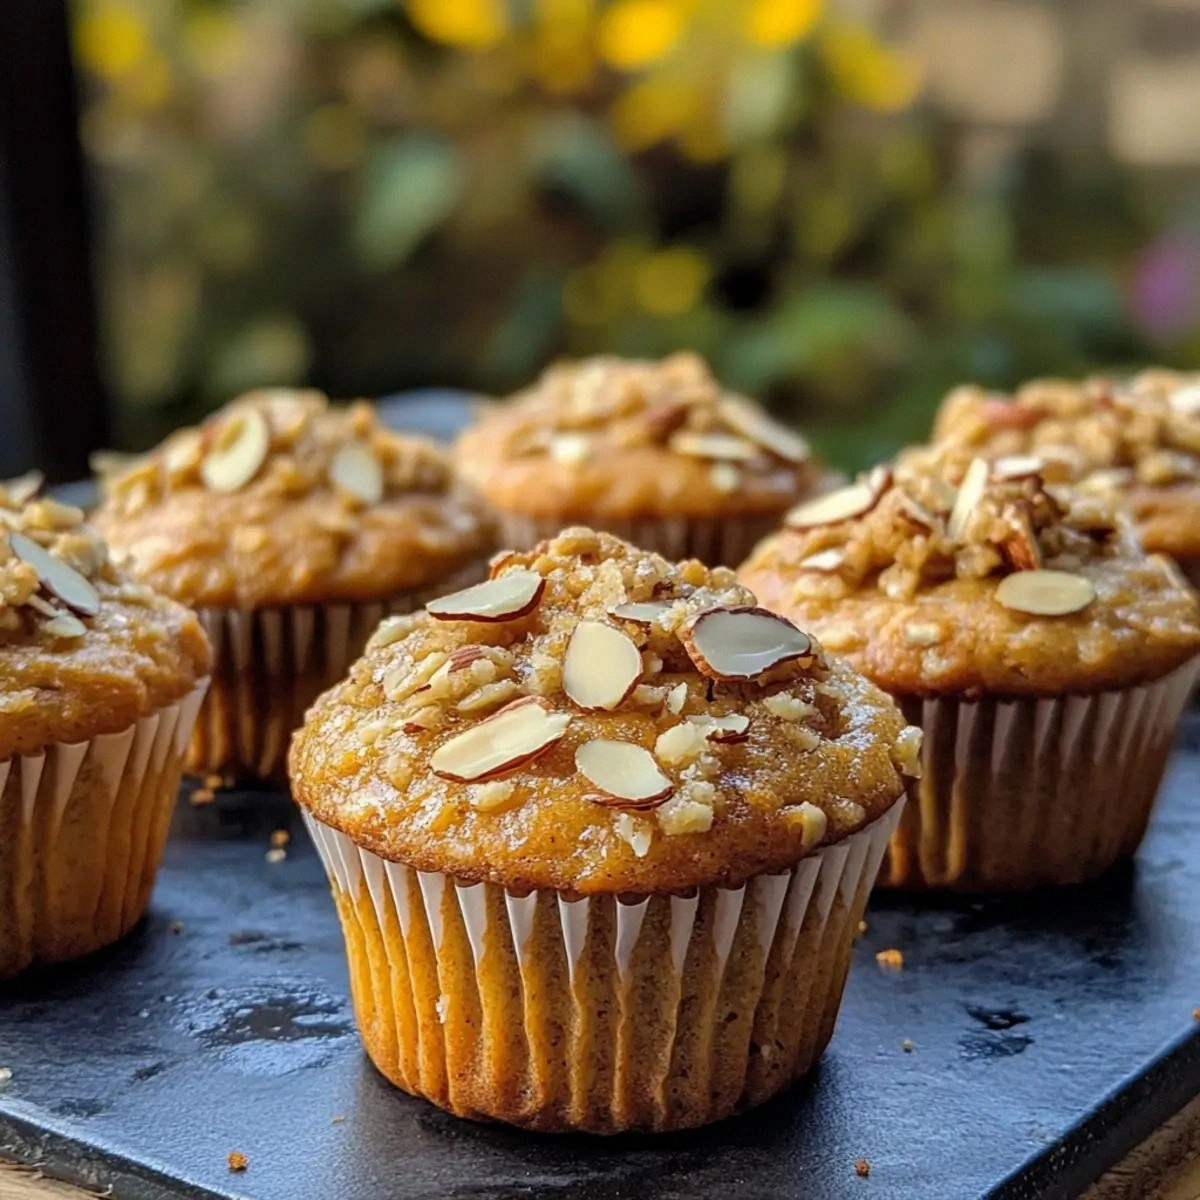
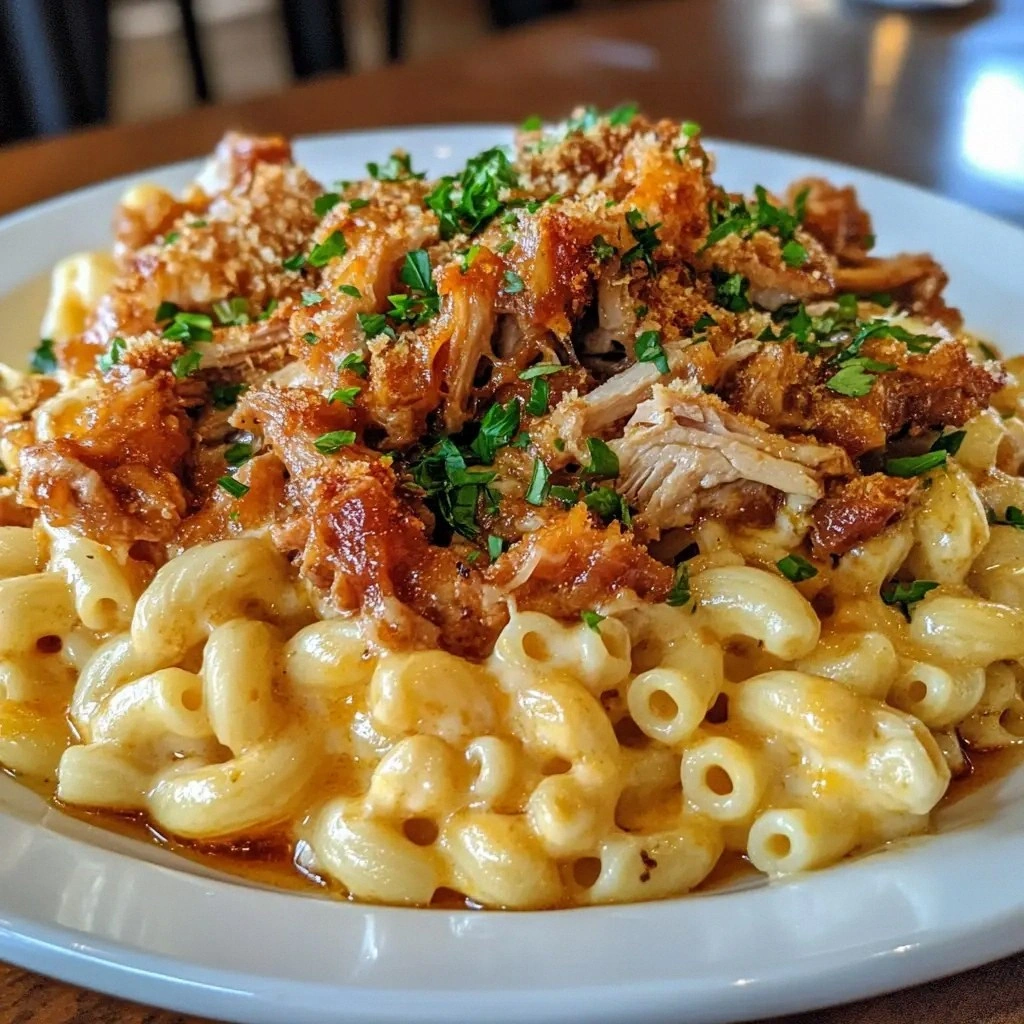
I was standing in my kitchen at 2 a.m., half‑asleep, half‑hungry, when my roommate shouted, “You’ve got to try this new oat thing I saw on TikTok!” I rolled my eyes, grabbed a banana, a jar of peanut butter, and a sack of oats, and what happened next was nothing short of culinary alchemy. The kitchen filled with the sweet, nutty perfume of toasted oats, the buttery glide of melted peanut butter, and the comforting scent of ripe banana – a trio that made my stomach do a happy dance before the first bite even hit the plate. I’ll be honest — I ate half the batch before anyone else got a chance to try it, and that’s saying something because the whole thing was still warm, gooey, and somehow both breakfast and dessert rolled into one glorious bite.
Most oat recipes are either bland mush or dry granola that crumbles the moment you try to scoop it. This version flips the script: the oats are toasted just enough to develop a caramel‑kissed crust, then soaked in a creamy banana‑peanut butter bath that keeps every bite moist, dense, and power‑packed. I dare you to taste this and not go back for seconds – the combination of sweet, salty, and a hint of cinnamon is a flavor fireworks show that refuses to quit. And the best part? It takes less than an hour from start to finish, which means you can whip it up before your morning meeting or as a post‑workout refuel without breaking a sweat.
What really sets this recipe apart is a tiny, almost sneaky technique: I whisk the dry oat mixture with a pinch of baking powder and a dash of cinnamon before folding in the wet ingredients. That tiny amount of leavening creates pockets of airy softness that contrast beautifully with the dense, chewy center – it’s like discovering a secret passage in a familiar house. Most recipes get this completely wrong by either skipping the leavening or over‑mixing, resulting in a flat, lifeless texture. This next part? Pure magic.
Picture yourself pulling this out of the oven, the whole kitchen smelling incredible, the top shimmering with a golden‑brown crust that cracks just enough to reveal a molten, peanut‑buttery interior. If you’ve ever struggled with soggy oat bakes or bland banana breads, you’re not alone — and I’ve got the fix right here. Let me walk you through every single step — by the end, you’ll wonder how you ever made it any other way.
What Makes This Version Stand Out
- Flavor Fusion: The natural sweetness of bananas pairs with the rich, salty depth of peanut butter, while a whisper of cinnamon ties everything together like a warm blanket.
- Texture Triumph: A crisp, caramelized edge gives way to a soft, almost pudding‑like center, delivering contrast in every forkful.
- Simplicity: Only ten core ingredients, all pantry‑friendly, mean you can throw this together on a Tuesday night without a grocery run.
- Unique Twist: A pinch of baking powder creates airy pockets that keep the oat base from turning into a brick.
- Crowd Reaction: Friends have called it “the breakfast that feels like dessert” and have begged for the recipe after just one bite.
- Ingredient Quality: Using ripe, fragrant bananas and natural, unsweetened peanut butter elevates the dish from ordinary to unforgettable.
- Cooking Method: Toasting the oats first adds a nutty depth that you simply can’t achieve by mixing raw oats straight into the batter.
- Make‑Ahead Potential: This bake stores beautifully, making it perfect for grab‑and‑go breakfasts all week long.
Inside the Ingredient List
The Flavor Base
Ripe bananas are the unsung heroes of this dish. Their natural sugars caramelize during baking, creating a deep, honey‑like sweetness that never feels artificial. If you skip them, you’ll lose that luscious moisture and the subtle fruity aroma that makes the whole bake feel fresh. As a swap, you can use applesauce, but expect a lighter flavor and a slightly different texture.
The Texture Crew
Rolled oats provide the hearty backbone, and when toasted, they develop a nutty crunch that contrasts with the creamy interior. Opt for thick‑cut rolled oats rather than instant; the former holds its shape better and gives you that satisfying bite. If you’re gluten‑free, certified gluten‑free rolled oats work perfectly without compromising texture.
The Unexpected Star
A generous dollop of creamy peanut butter adds richness, protein, and a salty‑sweet balance that makes the dish feel indulgent yet wholesome. Choose a natural, unsweetened variety to avoid extra sugars, and stir it in while still warm so it melds seamlessly with the milk and bananas. For a nut‑free twist, try almond butter or sunflower seed butter – the flavor shifts, but the creamy magic stays.
The Final Flourish
A pinch of baking powder and a dusting of cinnamon are the secret weapons that turn a simple oat bake into a light‑hearted masterpiece. Baking powder creates tiny air pockets that keep the interior from becoming dense, while cinnamon adds a warm, aromatic backdrop that pairs perfectly with banana and peanut butter. If you’re avoiding sodium, a low‑sodium baking powder works just as well.
Everything's prepped? Good. Let's get into the real action…

The Method — Step by Step
Preheat your oven to 350°F (175°C) and line a 9‑inch square baking pan with parchment paper. While the oven warms, you’ll hear the faint hum of anticipation – that’s the sound of greatness brewing.
In a large skillet over medium heat, toast the rolled oats, stirring constantly, until they turn a golden amber and emit a nutty perfume. This should take about 3‑4 minutes; the edges will start to crackle like tiny fireworks.
Kitchen Hack: Keep a wooden spoon handy – it prevents the oats from scorching and makes stirring effortless.While the oats toast, mash the bananas in a bowl until they’re smooth with just a few tiny lumps for texture. Add the peanut butter, honey, milk, and vanilla extract, then whisk until the mixture is glossy and unified. This is the moment of truth – the batter should look thick but pourable, like a luxurious smoothie.
In a separate small bowl, combine the baking powder, cinnamon, and salt. Sprinkle this dry blend over the toasted oats and give everything a quick toss to ensure even coating.
Watch Out: Over‑mixing the dry and wet components will develop gluten and make the final product tough. Fold gently.Combine the wet banana‑peanut butter mixture with the dry oat mixture, folding gently until just incorporated. You’ll notice the batter thickening as the oats absorb the liquid – that’s exactly what you want. If you see any dry streaks, give it a few more gentle stirs.
Pour the batter into the prepared pan, smoothing the top with a spatula. Sprinkle the dark chocolate chips over the surface; they’ll melt into pockets of gooey decadence as the bake cooks. The scent at this point is already a siren call for anyone nearby.
Slide the pan into the preheated oven and bake for 25‑30 minutes. Around the 20‑minute mark, peek through the oven window – the edges should be pulling away from the pan, and the top will be a deep golden brown with a faint crackle. If you lightly press the center, it should spring back slowly, indicating a perfectly set interior.
Remove the pan and let the bake rest for 10 minutes before lifting it out using the parchment overhang. This short cooling period lets the structure set, making it easier to cut clean squares. While you wait, the kitchen will be filled with a warm, caramel‑banana aroma that’s impossible to ignore.
Slice into generous squares, drizzle with an extra spoonful of peanut butter if you’re feeling indulgent, and serve warm. The first bite should deliver a crunchy edge, a silky interior, and a burst of sweet‑salty harmony that makes you want to shout, “I’m never going back to plain oatmeal again!”
That's it — you did it. But hold on, I've got a few more tricks that'll take this to another level…
Insider Tricks for Flawless Results
The Temperature Rule Nobody Follows
Never bake at a temperature lower than 350°F for this oat bake. Lower temps cause the oats to steam rather than toast, resulting in a soggy texture. I once tried 325°F to “be gentle,” and the whole thing turned into a mushy pancake. Keep the heat steady; the high‑heat flash caramelizes the sugars and locks in moisture.
Why Your Nose Knows Best
Your sense of smell is the ultimate timer. When the kitchen fills with a toasty, nutty aroma (about 18 minutes in), you’re nearing the perfect crust formation. Trust that nose cue more than the clock; ovens can vary by up to 25°F.
The 5‑Minute Rest That Changes Everything
Allow the bake to rest uncovered for five minutes after removing it from the oven. This short pause lets the interior settle, preventing it from falling apart when you cut it. Skipping this step is the fastest way to end up with crumbly squares that look sad on the plate.
Mix‑In Timing for Chocolate Chips
Add chocolate chips right before baking, not after. The heat melts them just enough to create pockets of molten chocolate without turning the entire batter into a chocolate swirl. A friend tried mixing them in early, and the chips melted into the batter, losing their delightful contrast.
Banana Selection Secrets
Choose bananas that are fully ripe – they should have brown spots and give slightly under gentle pressure. Over‑ripe bananas (almost black) can make the batter too wet, while under‑ripe ones won’t provide enough natural sweetness, forcing you to add extra sugar.
Creative Twists and Variations
This recipe is a playground. Here are some of my favorite ways to switch things up:
Berry Burst
Fold in a cup of fresh blueberries or raspberries before baking. The berries burst during cooking, releasing a tangy counterpoint to the sweet banana‑peanut butter base. Perfect for summer brunches.
Coconut Crunch
Swap half of the rolled oats for shredded coconut and sprinkle toasted coconut flakes on top before baking. The result is a tropical twist with extra crunch that makes the dish feel like a beach vacation.
Spicy Kick
Add a pinch of cayenne pepper or a dash of chili powder to the dry mix. The subtle heat amplifies the chocolate and peanut butter, creating a flavor profile that’s both comforting and adventurous.
Protein Power
Stir in a scoop of vanilla whey or plant‑based protein powder with the dry ingredients. This boosts the protein content without altering the taste, making it an ideal post‑gym meal.
Apple Cinnamon Delight
Replace the bananas with two grated apples and increase the cinnamon to 1 tsp. The apples keep the bake moist while delivering a crisp, autumnal flavor that’s perfect for cooler months.
Storing and Bringing It Back to Life
Fridge Storage
Let the bake cool completely, then slice and store the squares in an airtight container in the refrigerator. It will stay fresh for up to four days. When you’re ready to eat, reheat a piece in the microwave for 30‑45 seconds, or toast it in a skillet for a crunchy exterior.
Freezer Friendly
Wrap individual squares in parchment paper, then place them in a freezer‑safe zip‑lock bag. They freeze beautifully for up to three months. To revive, microwave on defrost for 1‑2 minutes, then finish with a quick 2‑minute bake at 350°F to restore that golden crust.
Best Reheating Method
Add a tiny splash of milk or water (about a tablespoon) before reheating in the microwave; the steam helps the interior stay moist while the outer edge crisps up again. For a truly restaurant‑quality finish, reheat in a preheated 325°F oven for 8‑10 minutes, uncovered.