I still remember the night I tried to salvage a burnt loaf of bread and ended up with a soggy disaster. The kitchen smelled like burnt sugar and disappointment. That moment sparked a quest: how could I create a bagel that was protein‑rich, chewy, and not a kitchen nightmare? I experimented with flour blends, yeast timing, and a secret sweetener. The result? A bagel that rises like a cloud and tastes like a buttery hug.
Picture this: a golden crust that cracks like a brittle shell, a soft interior that stretches with each bite, and a subtle hint of honey that lingers on the tongue. The aroma of warm yeast and vanilla fills the room, making your stomach growl with anticipation. My friends swear they could taste the sunrise in every bite. I’ve been tempted to keep this recipe to myself, but the craving for a protein‑packed bagel is too strong to resist sharing. So grab your apron and let’s dive into the science and the sizzle.
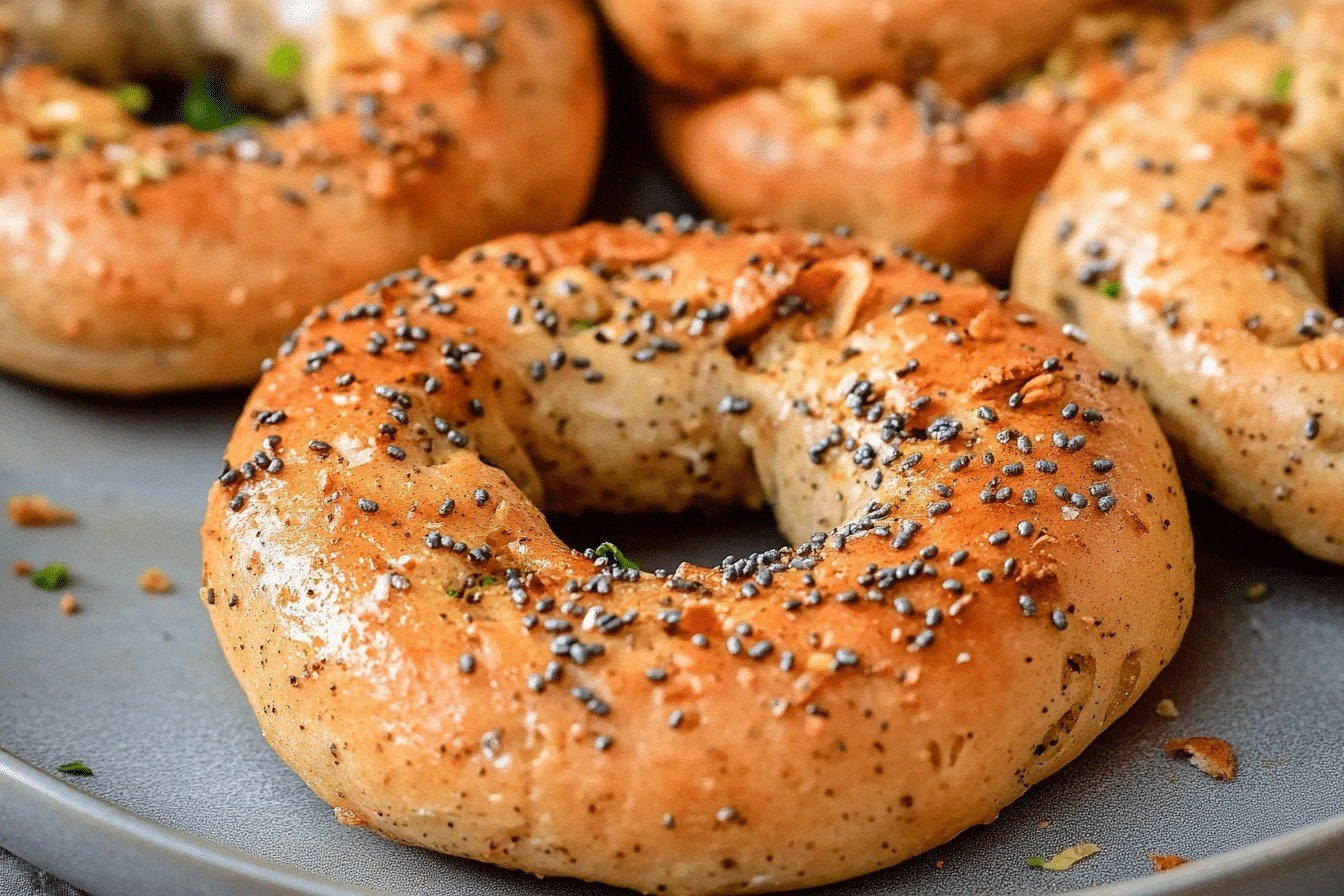
What makes this version stand out is that it’s not just a bagel, it’s a protein powerhouse wrapped in a chewy, slightly sweet shell. The blend of whey protein and all‑purpose flour creates a structure that holds its shape while delivering a satisfying bite. I added a touch of honey to counterbalance the protein’s slight bitterness, giving the bagel a natural caramel note. The use of instant yeast ensures a quick rise without the dreaded doughy texture. And the finishing touch? A light brushing of olive oil before baking that gives the crust a glossy, almost caramelized finish.
I dare you to taste this and not go back for seconds. The first bite is a revelation, a harmony of protein, carbs, and a whisper of vanilla. If you’re still skeptical, picture yourself pulling this out of the oven, the whole kitchen smelling incredible, and the bagels steaming like fresh snow. The texture will make you question why you ever settled for store‑bought. Let me walk you through every single step — by the end, you’ll wonder how you ever made it any other way.
What Makes This Version Stand Out
- Flavor: The subtle sweetness from honey balances the whey protein’s natural bite, creating a bagel that tastes like a bakery treat.
- Texture: The combination of flour and protein powder gives a chewy interior that holds up to slicing and toasting.
- Protein Boost: Each bagel packs over 25 grams of protein, making it a perfect post‑workout snack or a hearty breakfast.
- Ease of Prep: No pre‑baking proofing, just a quick knead and a 30‑minute rise that fits into a busy schedule.
- Versatility: The dough can be shaped into classic rings, mini‑bagels, or even flatbread‑style rounds.
- Make‑Ahead Friendly: The dough can be refrigerated overnight, allowing you to bake fresh bagels in the morning with minimal effort.
- Cost‑Effective: Using pantry staples like flour, yeast, and honey keeps the cost low while delivering high nutritional value.
Inside the Ingredient List
The Protein Core
Whey protein powder is the backbone of this recipe, adding a dense protein network that holds the dough together. It also gives a subtle vanilla flavor that complements the honey. Skipping it will result in a less chewy bagel and a lower protein count, which defeats the purpose of the recipe.
Vanilla extract is optional but recommended; it lifts the overall aroma and adds a sweet undertone that balances the savory notes. If you’re lactose intolerant, a plant‑based protein powder works just as well, but the texture may shift slightly.
The Flour Fusion
All‑purpose flour provides the necessary gluten structure to trap the gases released by yeast. It also offers a neutral base that lets the other flavors shine. If you prefer a whole‑grain version, swap half the flour for whole wheat; just be prepared for a denser crumb.
Instant dry yeast is chosen for its rapid activation, allowing the dough to rise quickly without a long proofing period. If you don’t have instant yeast, active dry yeast can be used, but it will need to be dissolved in warm water first.
The Sweet & Savory
Honey is the sweetener of choice because it adds moisture, caramel notes, and a slight viscosity that keeps the dough from drying out. A tablespoon of maple syrup can substitute for honey, but the flavor profile will shift slightly toward a richer, earthy sweetness.
Salt is essential for flavor balance and for regulating yeast activity. Too little salt and the dough will overproof; too much and it will taste flat.
The Finishing Touch
Warm milk (about 110°F) hydrates the yeast and protein powder, creating a smooth, cohesive dough. Using cold milk will slow down yeast activity, while boiling milk can scorch the mixture.
Olive oil adds a subtle fruity richness and helps achieve a glossy crust. If you prefer a dairy‑free version, a splash of coconut oil works well and imparts a mild coconut aroma.
Everything's prepped? Good. Let's get into the real action...
The Method — Step by Step
- In a large mixing bowl, whisk together the flour, whey protein powder, instant yeast, baking powder, and salt until the dry ingredients are evenly distributed. The goal is a uniform mixture that prevents pockets of dry flour. I always use a metal whisk to ensure no lumps form.
- In a separate cup, combine the warm milk, honey, vanilla extract, and olive oil. Stir until the honey dissolves completely; this creates a liquid that hydrates the dry mix. The aroma at this step is already promising, a hint of vanilla dancing in the air.
- Pour the wet mixture into the dry bowl and stir with a wooden spoon until a shaggy dough forms. The dough will look sticky at first, but that’s normal; the protein will bind as you knead. I let it sit for 2 minutes to allow the flour to absorb the liquids.
- Transfer the dough onto a lightly floured surface and knead for about 8 minutes, adding a splash of flour if it’s too tacky. The dough should feel elastic and slightly tacky but not sticky. You’ll notice a faint sheen that indicates proper hydration.
- Place the dough in a greased bowl, cover with a clean kitchen towel, and let it rise in a warm spot for 20–25 minutes, or until it doubles in size. The rising time is shorter than traditional bread due to the instant yeast and the protein content.
- Punch down the dough to release excess air, then divide it into 8 equal portions. Shape each portion into a tight ball, then use your thumb to create a hole in the center. The holes should be uniform to ensure even baking.
- Place the shaped bagels on a parchment‑lined baking sheet, spacing them about 2 inches apart. Brush the tops with a little water or milk to promote browning and to keep the crust from becoming too hard.
- Preheat the oven to 425°F (220°C) and bake the bagels for 18–20 minutes, or until the crust is golden and the internal temperature reaches 190°F (88°C). The bagels should emit a nutty aroma once they’re done.
- Remove the bagels from the oven and let them cool on a wire rack for 10 minutes before slicing. Cooling allows the steam to escape, preventing a soggy bottom. Serve warm or store in an airtight container.
That's it — you did it. But hold on, I've got a few more tricks that'll take this to another level...
Insider Tricks for Flawless Results
The Temperature Rule Nobody Follows
Temperature is the unsung hero of dough performance. If the milk is too hot, it kills the yeast; too cold, and the dough won’t rise. Aim for 110°F (43°C) and use a kitchen thermometer to verify. My friend once used boiling milk and ended up with a flat, dense loaf.
Why Your Nose Knows Best
The first hint that the dough is ready is the smell. A faint yeasty aroma indicates that the yeast is active, while a sweet, slightly caramel scent shows the honey is caramelizing. Trust your nose, not the clock.
The 5‑Minute Rest That Changes Everything
After shaping the bagels, let them rest for 5 minutes before baking. This brief pause allows the gluten to relax, which results in a more tender crumb. Skipping this step often leads to a chewy, but not tender, texture.
Brushing with Water for a Crunchy Crust
Just before baking, lightly brush the tops with water or milk. This creates steam in the oven, giving the bagels a crisp, golden crust while keeping the inside moist. It’s a simple trick that makes a world of difference.
Storing in a Paper Bag
After cooling, place the bagels in a paper bag for up to 3 days. The paper absorbs excess moisture, preventing the crust from becoming soggy. For longer storage, freeze the bagels and thaw them on the counter.
Creative Twists and Variations
This recipe is a playground. Here are some of my favorite ways to switch things up:
Blueberry Burst
Fold in a cup of fresh or frozen blueberries before the final rise. The berries burst in the oven, adding a burst of tartness that pairs beautifully with the honey. Serve with a dollop of Greek yogurt for extra protein.
Cheese‑Stuffed Delight
Insert a small cube of mozzarella or cheddar into the center of each bagel before baking. The cheese melts into a gooey center, creating a decadent sandwich ready for any time of day.
Spicy Jalapeño
Chop a jalapeño and mix it into the dough for a fiery kick. The heat balances the sweetness, making these bagels a perfect pre‑workout snack for those who like a little spice.
Herb‑Infused
Add a tablespoon of chopped fresh rosemary or thyme to the wet ingredients. The herbal aroma elevates the bagel’s flavor profile, turning it into a savory treat that works well with smoked salmon or avocado.
Chocolate Chip
Stir in a cup of dark chocolate chips into the dough. The chips melt into pockets of chocolate, offering a sweet, protein‑rich treat that’s great for dessert or a post‑workout indulgence.
Storing and Bringing It Back to Life
Fridge Storage
Place the cooled bagels in an airtight container or zip‑lock bag and refrigerate for up to 4 days. The cold environment slows down the yeast, preserving freshness. Before serving, let them sit at room temperature for 15 minutes.
Freezer Friendly
Wrap each bagel individually in parchment paper, then place them in a freezer bag. They’ll keep for up to 3 months. When ready, thaw at room temperature or toast directly from the freezer for a crisp finish.
Best Reheating Method
To reheat, preheat your oven to 350°F (175°C) and warm the bagels for 8–10 minutes. Add a splash of water to the bottom of the pan to create steam, which restores moisture. The crust will regain its golden crunch while the interior stays soft.